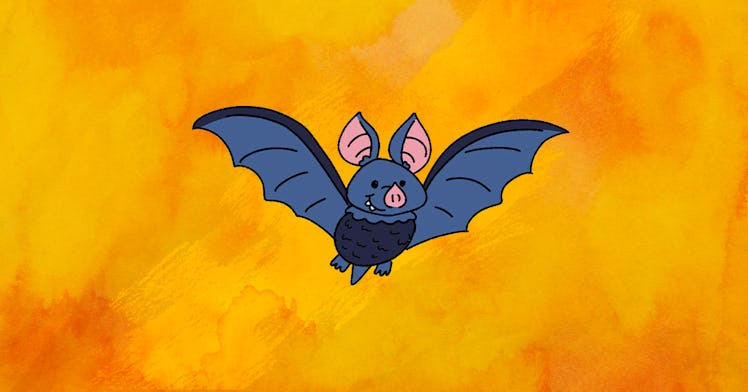
How to Draw a Bat In 5 Simple Steps
Here's how to make sure your bat doesn't end-up looking like a weird bird.

You might think drawing a bat is hard, and there’s good reason to feel that way. Yes, it’s true, the bat is a complicated animal; it’s partially like a rat, but not really. It’s got those wings, but they’re not bird wings. Where to begin? Should you just try to draw Batman instead? No! With the guidance of a professional artist, drawing a bat is a lot more straightforward than you think, and you can skip the conversation with your kids about how bats are not birds.
Now that Fall is fast approaching, your kids’ doodles are probably geared more towards Halloween drawings. If you’re tired of seeing a giant cockroach that looks nothing like a bat, we have a 9-year-old approved solution for you and your kid’s sake: A suite of Halloween drawings by Fatherly resident illustrator, Connor Robinson, broken down to 5 simple steps that are easy for you and your kids to follow: a pumpkin, a cat in a hat, the moon and here, a bat.
Let’s face it. Teaching your kids how to draw a bat, or anything else, is just as important as garnering your arsenal of dad jokes and Halloween puns. Unlike the former, drawing has no expiry date and with more practice, they hone in on a skill that stays with them for life.
So how exactly do you draw a bat?
Start with the head, a body, two ears, and some wings. Rounded triangles and ovals will form the foundation for your bat drawings.
What You’ll Need:
- Drawing paper
- Pencils
- An Eraser
- Crayons (optional)
Step 1: First things first, a head and a body
Draw a triangle with curved edges, this is the head of the bat. Close this out with an oval shape at the bottom of the triangle, this would be the body of the bat. Then, draw a short wavy line horizontally underneath the head of the bat to accentuate the neckline.
Step 2: Outline the ears, wings and finish up with a tail
Bat ears are easier to draw when you think of them as an oval with pointed edges or teardrops to be precise. Draw two on each side of the head to form the ears. There’s room for your imagination to shine here. You can make the ears as big or as little as you want.
For the wings, draw a curved arc that starts from the head of the bat, then use short, smaller curved lines to connect it to the body. Finish up by drawing an upside-down triangle at the bottom middle of the body to highlight the bat’s tail.
Step 3: A face and two feet
Yes, bats have feet, and this is where you draw them in. Think of it as an extra-long letter “m” connected to the body of the bat. You can start to draw in features at this point. Two large dots for eyes, a teardrop for the nose, and a slight curve to highlight the mouth.
Step 4: Furs and fingers
Bats have fur, they also have long fingers stretched across their wings to support and manipulate it. Draw short curved lines across the wings to highlight the fingers, then scribble several tiny “w’s” around the body of the bat for the fur.
Step 5: Finishing touches
Your bat is pretty much ready to go, finish it up with two tiny teeth, and some additional markings inside the nose and ears to really bring your drawing to life. That’s it! You’re done drawing a bat! Encourage your kids to color this for a fun spooky flair. You can also add in a moon and a jack “o” lantern for a full-bodied Halloween picture.