5 Tips for Building the Ultimate Model Volcano, From A Professional Vocanologist
Science fair season is steadily approaching.

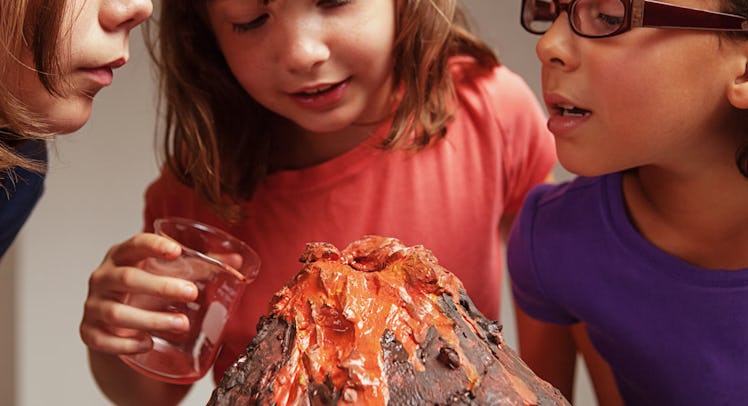
There’s no grade school science project quite like the papier-mâché volcano. They teach a lesson in geology and general chemistry but there’s also fizzing lava! There’s hardly a school district where these creations aren’t a fixture at a science fair. That ubiquity, however, can make it difficult to stand out in the crowd. That’s why we reached out to Dr. Ken Hon. A tried-and-true volcanologist and Professor of Geology at Hawaii University, Dr. Hon has spent many a day studying the ins and outs of actual lava spewers. He was kind enough to offer his advice for creating an authentic volcano that looks and acts like the real thing.
Find Your Inspiration
It’s always better to work from a model. “Go online and find a picture of a volcano you like,” says Hon. Most people stick with the standard cone shape so Hon argues that “if you can make one that looks remotely real you are going to stand out right away.” By making the simplest effort to find a real volcano to use as a model, your kid is already a jump ahead of the competition.
Skip the Basics
Traditional science fair volcano structure consists of a wire frame stuffed with crumpled up pages of the Arts & Leisure section (probably) and coated with papier-mache. Hon, however, suggests skipping the paper components, as they result in a structure will cave faster than the Brave’s bullpen after the lava flows. “One layer of paper mache over crumpled paper is not going to work very well,” he says.
Dr. Hon’s advice: head to the hardware store and buy a gallon of wood glue and some strips of muslin cloth. Then, add a little bit of modeling clay and paint to that mixture and mold a formation out of that. Using this method, Hon says you’ll be able to create a gassy mountain that’s durable enough to survive the baking soda bath to come.
Be Sure To Add A Top Coat
Speaking of durability, you’re going to want to coat the top of your creation with a waterproof sealant. While traditional paper structures can’t be protected against the elements, your glue and muslin structure can. “You want to use a plastic coat finish on the top,” says Hon. “This will make it completely waterproof.”
Rethink Your Lava Reservoir
A true volcano, of course, lives and dies by the performance of its lava. Dr. Hon knows this and explains that good lava starts with a good container. “You want a central crater at the top,” he says. “Ideally, a crater that could fit a 2×2 inch dixie cup,” he says. After you form your traditional shape around the wire structure, create and indent and insert your dixie cup, then camouflage it with the edges. Creating a great crater, per Hon, has straight-lined walls, so be sure to smooth everything down.
Step Up The Lava
Once you’ve created the ideal spot for your lava container, Hon says to fill the dixie cup up half way with baking soda — and only half way. “If you fill it all the way up with baking soda, you aren’t leaving space for vinegar,” which is a common issue. Speaking of vinegar: Don’t use apple cider vinegar. Hon suggests getting clear white vinegar, which takes to authentic color better. “Put red food coloring in it until you get a nice red color,” he advises.
It Takes a Village
Now that your perfect model volcano is complete, Hon has one final tip that is sure to win over any remaining skeptics in class. “Get some little monopoly houses and put them at the base of your volcano,” Hon says. Building a mini town to get wiped out by your faux lava might seem a tad cruel, but Hon has a simple justification: “Kids love it.” So get started on building that town that you will soon destroy.
This article was originally published on