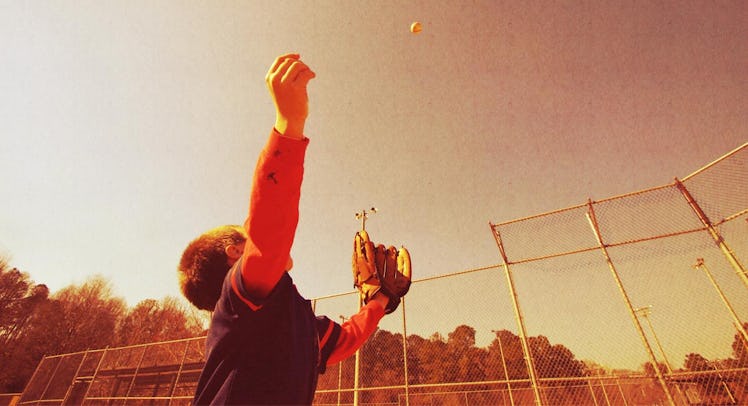
How to Teach a Kid to Catch a Fly Ball In 6 Easy Steps
It all starts with a knotted scarf.

Baseball glory is often found in the outfield. Robbed home runs, diving catches, big throws to home plate ⏤ all in a day’s work for those speedy players tasked with covering the most on-field real estate. And while, sure, outfielders in youth baseball may not garner as much recognition as they do in the pros, it’s still an important position (even right field) ⏤ especially as kids get older and leagues more competitive.
But to be a great outfielder, you have to know how to catch a fly ball. And learning to do that as a young child can be both difficult, and scary ⏤ it is, after all, practically a rock plummeting down from the sky. Not only do they have to be proficient at catching with a glove, but now they’re also asked to catch while running, or at least moving around the field. One slight miscalculation means a giant lump on the head.
Mike Belmont is a pitching-and-fielding coach and the camp director at The Baseball Center in Manhattan, and he’s spent years teaching baseball fundamentals. He’s also developed an innovative six-step method for teaching kids how to catch fly balls, that guides them all the way from the basics to making spectacular running catches. Here’s how it works.
Step One: The Scarf Method
It may sound strange, but the first thing you need to teach catching fly balls is a scarf ⏤ preferably a large, thin, fluttery one. Belmont says with really young kids ⏤ teeballers and up ⏤ the first fly ball drill they do is catching scarves. Tie a loose, fist-sized knot in one end of the scarf, and chuck it up into the air, so it’s coming right down on the kid. Then, with a glove or without one, have them practice catching the scarf as it flutters down, making sure they’re catching above their head, not doing the bucket catch at waist height. Try to throw it right above them, so it’s falling straight down, or drop it straight down from above.
When they’re starting to get the hang of that, Belmont says, he’ll tie a golf ball-sized whiffle ball (one of the little ones for practicing your drive) in the end of the scarf, so it falls a little faster and straighter, and he can toss it higher.
Step Two: Soft Tosses and Once-Bouncers
Like when teaching a kid to catch with a glove, it’s good to start with a softer ball ⏤ be it a tennis ball, wiffle ball, whatever. Soft tosses that come down right to the kid is a good way to refine what they learned with the scarf method. Better still, Belmont says he often throws big one-bouncers, bouncing a tennis ball off the ground so they can clearly see its trajectory and learn to track the ball.
Step Three: Thrown Fly Balls
Once using an actual baseball, it’s always better to throw rather than hit to kids who are learning. That way, you can control exactly where the ball goes and throw directly to the fielder, so they don’t have to track too much or move their feet. Start this drill when a player demonstrates they are comfortable with the soft tosses, and they consistently catch the ball above their head. No need to move too far back either ⏤ tossing easy pop-ups from a few yards away is fine.
Step Four: Football Routes
After they’ve got the hang of catching an actual ball, it’s time to start teaching them to track a fly ball and catch it on the move. Belmont says the best way to do this is to literally run football routes. Have them start on a line and run a very simple route ⏤ either a quick fly, a short slant, or even running left or right along the line of scrimmage. No matter the direction, make sure they know where the ball is going to be, and toss it right there each time ⏤ that way they can practice running to a spot, getting set, and making the catch.
Step Five: Back-Turned or Belly-Starts
This is a fast-paced drill for more advanced players, Belmont says, but they love it. Start your player with their back to you, then shout “go” (or blow a whistle), and toss a fly straight up. They’ll have to turn, find the ball, and track it down. The other way Belmont says he practices this drill is to have the kids lie down on their stomach on the field. When he tosses a fly (and yells go), they have to pop up and make the catch. The beauty of these fun, kinetic drills is that they get the kids laughing and much more comfortable with making clutch plays under pressure. If they can catch a ball they didn’t even see tossed, a normal fly will be no problem.
Step Six: Break out the Bat
At this point, the players should have a good grip on the fundamentals and you can move to hitting fungos off the bat from home plate. That’ll get them used to the distance and the movement needed for an actual game. After that, says Belmont, it’s just a matter of reps. The more flies they catch in practice, the fewer dropped balls during the game.
This article was originally published on