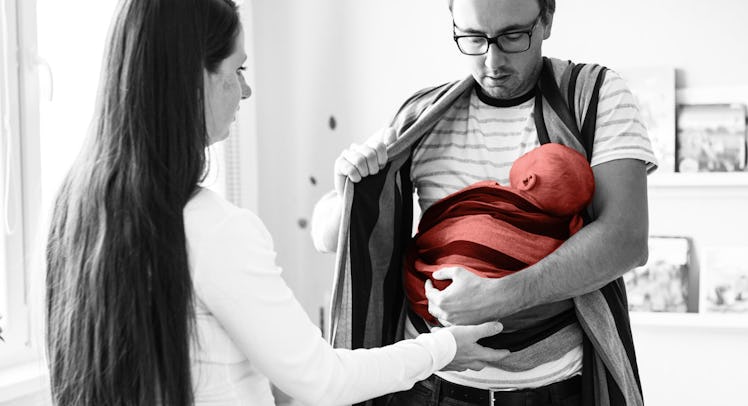
How to Use a Baby Wrap the Best Way Possible
Long live the front wrap cross carry.

Sure, wraps might look like they harken back to the heady days of hipster shemaghs, but they can’t be beaten for versatility. There are a lot of great straps-and-snaps baby carriers, including those designed after tactical web gear and for outdoor adventuring with kids of all sorts of ages. But for sheer adaptability, the wrap is king. Since it’s just a long, strong bolt of cloth, there are dozens of ways to wrap it, and a dozen ways to securely carry a baby – on the hip, on the back, or close to the chest. The most secure style of wrapping is called the front wrap cross carry. It keeps the baby in place against dad’s chest and within his line of sight. It is also a naturally cuddly tummy-to-tummy position, and cuddles are awesome.
Benerson Little has worn web gear from his days in the Navy SEALs and he’s worn baby carriers as a father of three. He’s also seen plenty of lower-tech options, both from his time overseas with the Navy and as his career as one of the world’s foremost authorities on historical unconventional naval combat, commonly known as piracy. The front wrap cross carry reminds him of a field-expedient way of carrying wounded.
“I’ve used a coil of line secured at the top and divided in half, worn on my back, as a carrying method for an injured person. The injured party puts one leg through each set of coil loops and wraps hands and arms around the carrier’s torso,” Little explains. The reason why the injured party is on his back? “The big issue with carrying bulky items in front in a military sense is that they interfere with weapons handling.”
Luckily, weapons handling is not a major concern for most dads, so they can sport the front wrap cross carry. It doesn’t just allow them to sit down occasionally, but also to keep their baby in sight and use their arms to adjust the position of the wrap when necessary.
How to Execute the Front Wrap Cross Carry
- Find the middle of the wrap. This is probably where the tag is. If the wrap is very wide, fold it in half and keep the open side upward.
- Place the middle of the wrap against the chest. Keep it flat and smooth.
- Bring one end of the wrap around the back and over the opposite shoulder. Do the same with the other end. The wrap should be crossed in back. Try to keep it flat and smooth. Don’t twist it.
- Place the baby under the portion of the wrap that stretches across the chest. The baby should be right up against dad, tummy-to-tummy, with the wrap on the baby’s back and their feet sticking out the bottom. Pull the wrap tight; it should be tight under the child’s knees and high up the back to cradle the neck.
- Holding the baby with one hand, cross the end of the wrap over to the opposite hip, keeping it under the baby’s bottom. Switch hands and do the same with the other end of the wrap. The wrap should cross under the baby’s butt, with their feet outside, making a little harness.
- Take the two ends of the wrap and tie them securely behind the back or at the side. If the wrap is long enough, wrap the end around the waist one more time and tie them together in front, under the baby.
- Get frustrated and watch a video explanation.
Due to the length of the wrap, it tends to work with a wide variety of body styles, with little to no modification. An older child with good neck control can sit in the wrap a little higher, exercise some independence and grab dad’s glasses; a newborn can sit a little lower, where the wrap can support their neck appropriately. The ends of the wrap can also be pulled over a sleeping baby’s head, to keep them secure and blocked out of the light. The wrap may not be the favored way to carry a baby – that’s entirely up to personal taste – but because of its versatility and ability to be rolled into a small package, it definitely has a place in the family go bag.