How to Draw a Pumpkin in 5 Simple Steps
The perfect guide for kids — or drawing-inept adults — to get their Halloween-scape going.

There’s probably no craftier holiday than Halloween. Carving pumpkins, putting together costumes, DIY candy chutes — it’s no wonder the “holiday” often ranks as a favorite among kids. It’s also a very fun one to delve into the finer arts. Who doesn’t love to draw a moonscape, haunted mansion, or a werewolf coming your way. For the kids, though, start with something more manageable, more round, more… pumpkin-y.
Sure, a pumpkin seems easy — it’s just a series of curves after all, right? — but even this simple drawing takes skill and practice, and a little guidance. Look no further than Fatherly’s resident professional artist, Connor Robinson, who has broken down a step-by-step pumpkin just right for kids and drawing-inept adults as well.
What You’ll Need:
- Drawing paper
- Pencils
- An Eraser
- Crayons (Optional): Orange, Green, Black
A pumpkin is easier to draw when you think of it an imperfect circle with a conical head.
Step 1: Draw a freehand wavy circle.
Pumpkins are not round, so don’t try to make this perfect. The more imperfect your circle is, the better. Extra points if you start by drawing two brackets, connected at the bottom by a semi circle.
Step 2: Use curved lines to highlight the gourd
Draw a curved line on the outer left of your imperfect circle to form a crescent. Then, on the inside draw two curved lines like brackets. Remember, no two pumpkins are the same, so if you want more definition, add more curved lines.
Step 3: Draw the stem of the pumpkin
The stem of the pumpkin looks a lot like an open triangle with a curved top, closed out on the bottom by a 7 edged star. There’s definitely room for extra creativity here.
Step 4: Finish off the stem with a single leaf
A leaf looks very much like a tear drop with ragged edges. Start out with an oval, then attach to the pumpkin stem with a short curved line.
Step 5: Use short curved lines to accentuate the markings on the leaf
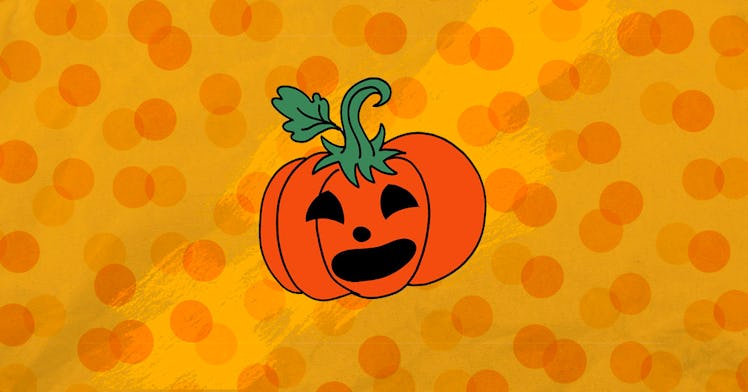
That’s it! You’re done drawing a pumpkin! In the spirit of halloween, you can easily convert this pumpkin into a jack ‘o’ lantern that is spooky and fun. Encourage your kids to really make this their own by adding in unique faces for some fun flare.
More Step-By-Steps
Nice pumpkin! Now, how about drawing a haunting moon, drawing some bats, a cat in a hat, and you’ll soon have a complete Halloween picture good enough to display on your fridge.
This article was originally published on